

Drywall Repairs That Disappear After Painting
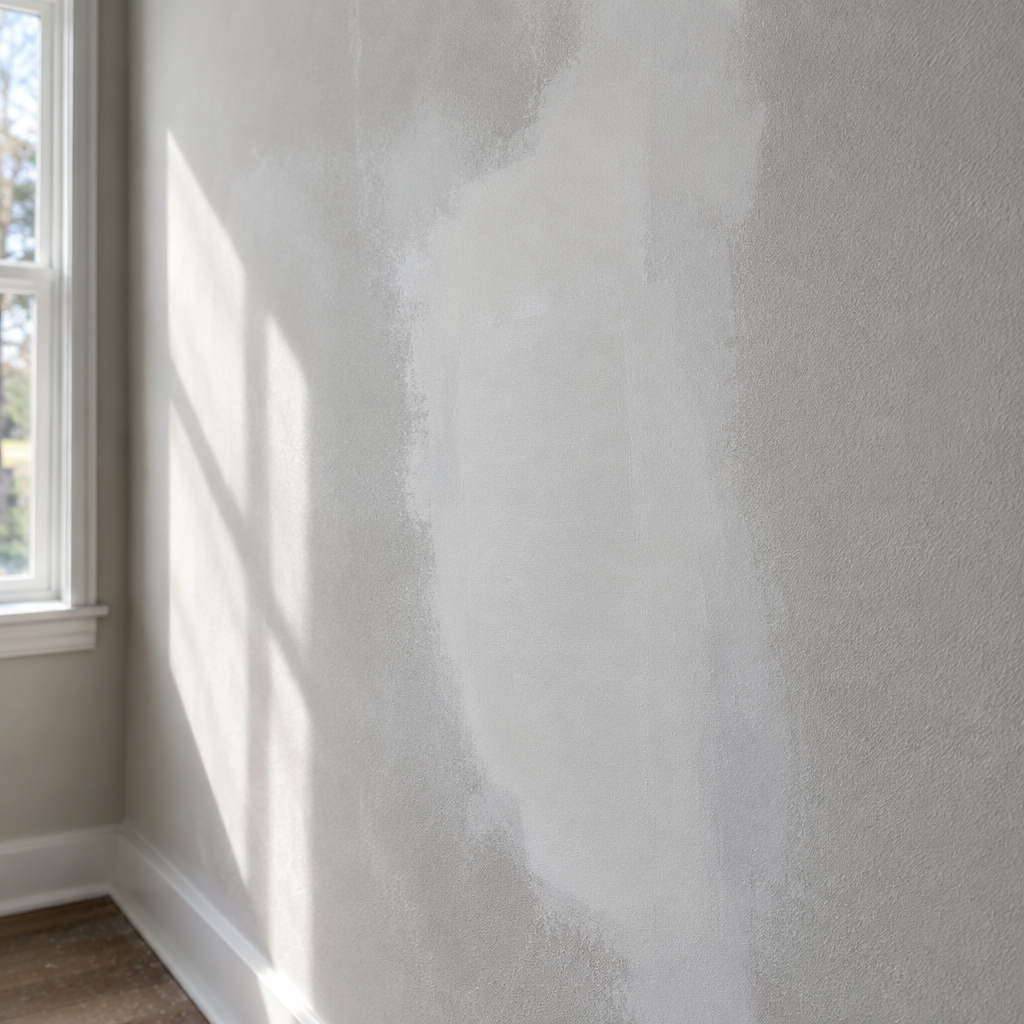
A patch can feel smooth to the hand and still flash through paint because its porosity, texture, or edge profile differs from the surrounding wall. A homeowner may start asking about drywall repair before painting once a decision or site condition needs attention. General guidance can clarify the starting point, but the correct answer still depends on the property. A focused assessment may separate required work from optional upgrades and set a more reliable scope.
Cut back to sound material
Loose paper, crumbling gypsum, failed tape, and movement must be removed or stabilized. Covering weak edges with more compound often creates a larger crack later.
Build thin, wide layers
Several controlled coats are easier to feather than one thick mound. Wider finishing reduces the abrupt change that strong window light reveals.
Match the surface texture
Roller stipple, orange peel, brush marks, and old plaster texture can make a perfectly flat patch stand out. Test the final primer and roller method on the repaired area.
Prime beyond the filler
Spot primer seals porosity, but a larger repaired wall may benefit from a broader prime coat to reduce flashing. The finish coat should then cover the full visual plane or a natural break.
Planning for GTA conditions
Large GTA windows and open-concept layouts can produce long bands of side light. Those conditions make repair width, sanding, and roller texture especially visible. In the GTA, useful local advice goes beyond adding a city name to a quotation. A site-based recommendation should reflect the home’s age, neighbourhood density, weather exposure, and municipal process, and how the household will use the finished space.
What a clear quotation should explain
A final decision on drywall repair before painting should use more than a product brochure or online average. Review the site’s age, exposure, construction, access, existing defects, and planned use. Confirm which municipal, building, utility, or property-management requirements apply to the address. Then document the selected method and its limits. This keeps local facts in control and prevents a general recommendation from being presented as a guarantee for one property.
Practical planning checklist
- Remove loose paper, tape, and compound.
- Feather repairs wider than the damaged spot.
- Recreate the surrounding texture.
- Inspect dry repairs with side lighting before finish paint.
The takeaway
Written boundaries make the decision easier to manage. A disappearing patch matches strength, profile, porosity, and texture, not only colour. If you are planning this work in the GTA, MLB Painting can assess the site and explain practical options without relying on a one-size-fits-all answer.
